Blog
July Jamboree Sale on Etsy
July 1st, 2022
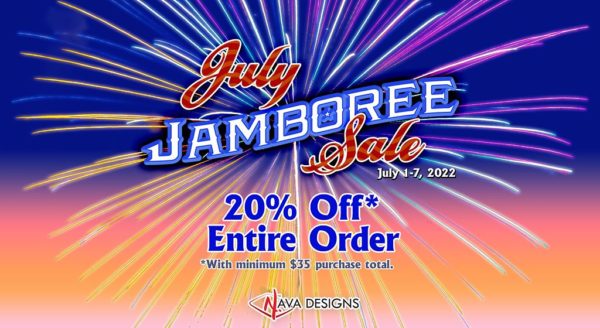
To celebrate both Independence Day and my birthday, I am having a July Jamboree sale on my Etsy store! For a limited time—July 1-7, 2022—get 20% off when you spend $35 or more.
I’ve added a lot of items to the store, and more will be arriving in the coming weeks.
3D Printed Pirate Loot on Etsy
April 11th, 2022
I recently began an ambitious project to recreate the talking skull from Disneyland’s Pirates of the Caribbean attraction. I normally wouldn’t consider tackling something like this, but now I can use my 3D printer to produce parts that I would have had to sculpt by hand (I’m really bad at sculpting).

ME456 Light Box Review
January 12th, 2019
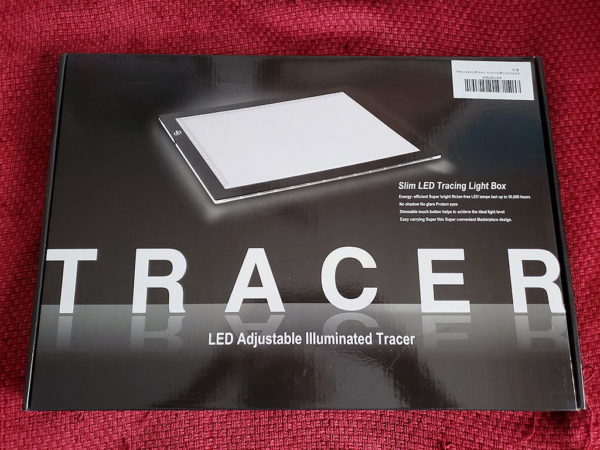
Any artist or photographer knows (or should know) the benefits of a light box. For those of us who cannot afford or scratch-build one of the bulky tools, we resort to taping our materials to a large sunny window or sliding glass door. The solution works in a pinch, but only while the sun is up. Slim LED light box to the rescue!
The New Affiliate Store
December 18th, 2018
I am pleased to announce the addition of the Affiliate Store! From there, you can shop for all sorts of art supplies to help you express yourself. I am still in the process of adding new products to the database, but if you can’t find something, you can always perform a search. Happy shopping!
Disclosure of Material Connection: Some of the links in this post are affiliate links—as an Amazon associate, I earn from qualifying products.
The Kid’s Awesome Activity Book
June 6th, 2018
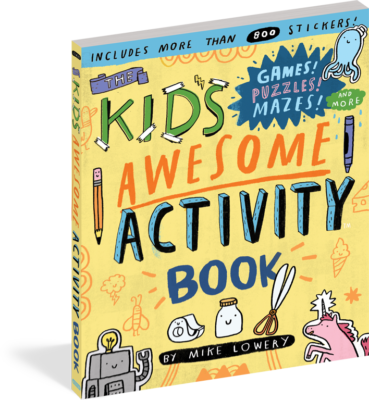
It’s summer, and you’re taking the family on vacation; everyone is super excited and happy. Heck, even the kids are getting along with each other. Two hours into your 6-hour (possibly 8) drive, boredom kicks in, and the kids are at each other’s throats. One kid is hitting, the other is kicking, and both are crying. You’re pulling your hair out because nothing you say can calm them down. Let’s face it, you’re resisting the urge to duck tape them to their seats like mummies . . . the roll of tape is just in the trunk, so it’s VERY tempting. Fortunately, there is a pacifier to keep them busy until their next nap time.
Turn This Book Into a Beehive!
March 25th, 2018
Turn This Book Into a Beehive!: And 19 Other Experiments and Activities That Explore the Amazing World of Bees. Wow; what a mouthful of a book title! Lynn Brunelle is an Emmy Award-winning writer for Bill Nye the Science Guy, as well as an author of over 45 books. With her latest book, she provides an easy-to-follow education on the world of bees and their important role in the world.
For some mysterious reason, bees are on the decline around the world. Nobody can pinpoint the exact cause, but many agree that it is most probably a combination of disease, parasites, pesticides, and climate change. The worst part is that without bees, our crops and gardens will fail. So, as bees disappear, so do our food supplies, and that’s not good. That’s not good at all! But, with Lynn Brunelle’s book, you can help by literally turning it into a beehive. No foolin’!
Doodle Adventures: Book 3
June 20th, 2017
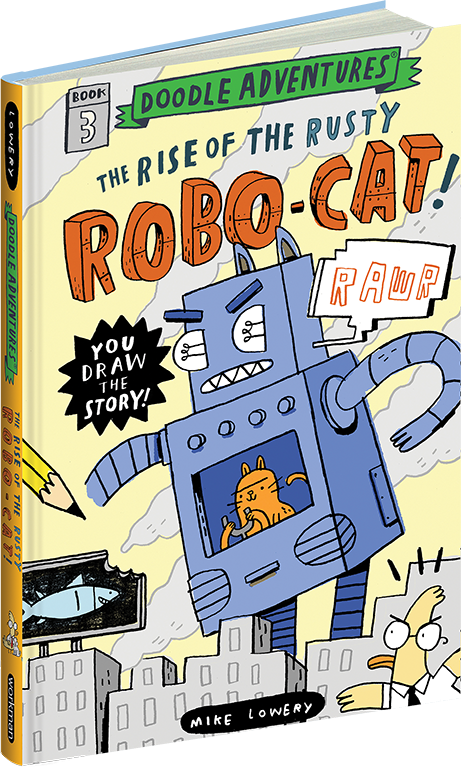
Alright, everyone, be on alert! Cats are acting very odd, and items have been reported as stolen. The two could be related, but how? Grab your pencils, pens, crayons, colored pencils, markers, or whatever drawing instrument that you can get your hands on (I highly recommend a pencil); we’re going to help Carl the Duck crack the case!
“The Rise of the Rusty Robo-Cat” is the third installment in the “Doodle Adventures” series. Written and illustrated by Mike Lowery, young readers will go on an interactive reading adventure to foil a dastardly kitty’s plot to conquer the world. How can readers help Carl?
![]()
![]()
![]()
This website, Nava Designs, and all images contained within are ©/TM 2004-2024 Robert Nava and/or their respective owners. Do not reproduce this website or its contents in part or whole for any reason unless you obtain written permission. This website contains affiliate links, and as an Amazon associate, I earn from qualifying products.